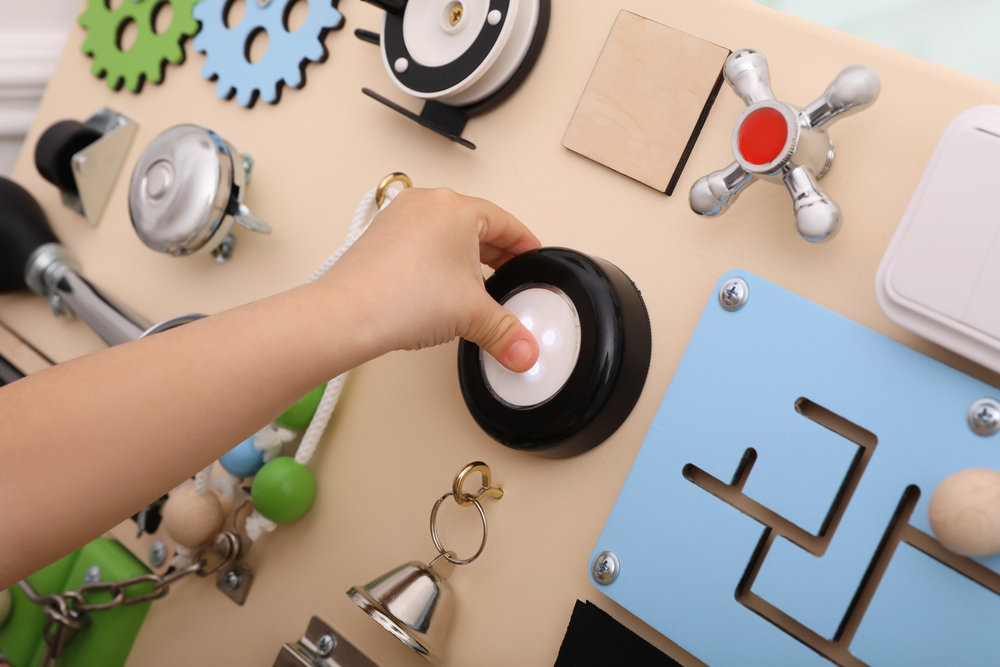
Many people think having a newborn baby is the hardest stage of becoming a parent, but as most find out, newborns are a dream compared to toddlers. Once your child can crawl or walk, you’ll find yourself trapped in the endless cycle of trying to find things for them to do that keep them out of trouble.

It seems that they have infinite energy to burn, and from a parenting perspective, this can be tiring to say the least. You can buy all the toys in the world, but it’s always the simplest items that peak their curiosity and keep them occupied the most, and that’s where an activity board comes in.
To buy, activity boards can cost a fair amount, but they’re not too hard to DIY, either. If you’re running out of ways to keep your toddler busy, follow our steps to creating a DIY activity board – it just might do the trick!
You will need:
- Plywood (18” (w) x 26” (l) x ¾” (d))
- Drill
- Hammer
- Eyelet hooks
- Pastel color paints and paintbrushes
If you don’t have a suitably sized piece of wood, we’d recommend using a saw and high quality UK circular saw blades to trim one to size, making sure to file the edges down so they are smooth and don’t splinter or break off.
In addition to the raw materials listed above, you’ll need the items to attach to the board. In theory you can attach anything, but we’d recommend the following items:
- Calculator
- Hook and loop fastening
- Bell
- Spring doorstop
- Keys
- Zipper
- Door chain
- Calculator
- Press light
- Small plastic mirror
You can add any number of other sensory items, but these ones are a good place to start.
1. Paint the board
Once you have all your materials and your board is filed and smooth, the next step is to paint it. White is a good, neutral color that can accommodate other shades being layered on top, but you can go for any color you like.
We’d recommend paining the board white, and then using pastel shades to section out areas for each item you put on the board. For example, paint a pastel blue circle an inch bigger than the circular plastic mirror you’re going to attach to the board to highlight the mirror. You may have to wait until step two to do this part if you’re going to paint different sections.
2. Mark out the areas for items
Next, you need to figure out exactly where you’re going to secure each item on the board. This will require laying the items on the board and seeing where they fit the best. You can measure the gaps out, or you can eyeball it.
Once you have an order secured, it’s best to mark out outlines so you know where to attach the fixings.

3. Add fixings onto the board
The third step is to add the fixings onto the board. You can use a range of screws, nails, and eye hooks to do this – whichever works best for the item you’re attaching. Having a drill or hammer handy at this stage will save you a lot of manual work and increase the efficiency.
4. Attach the items
The final step is to attach to items to the fixings on the board. Make sure everything is entirely secure and can’t be pulled off, and that no screw ends are visible through the back of the board that could pose a risk to small hands.
When everything is secure, you’re finished! Place the board in your toddler’s play area and let them explore the various sensory items on it. Have you made a sensory board? If so, what did you put on yours?